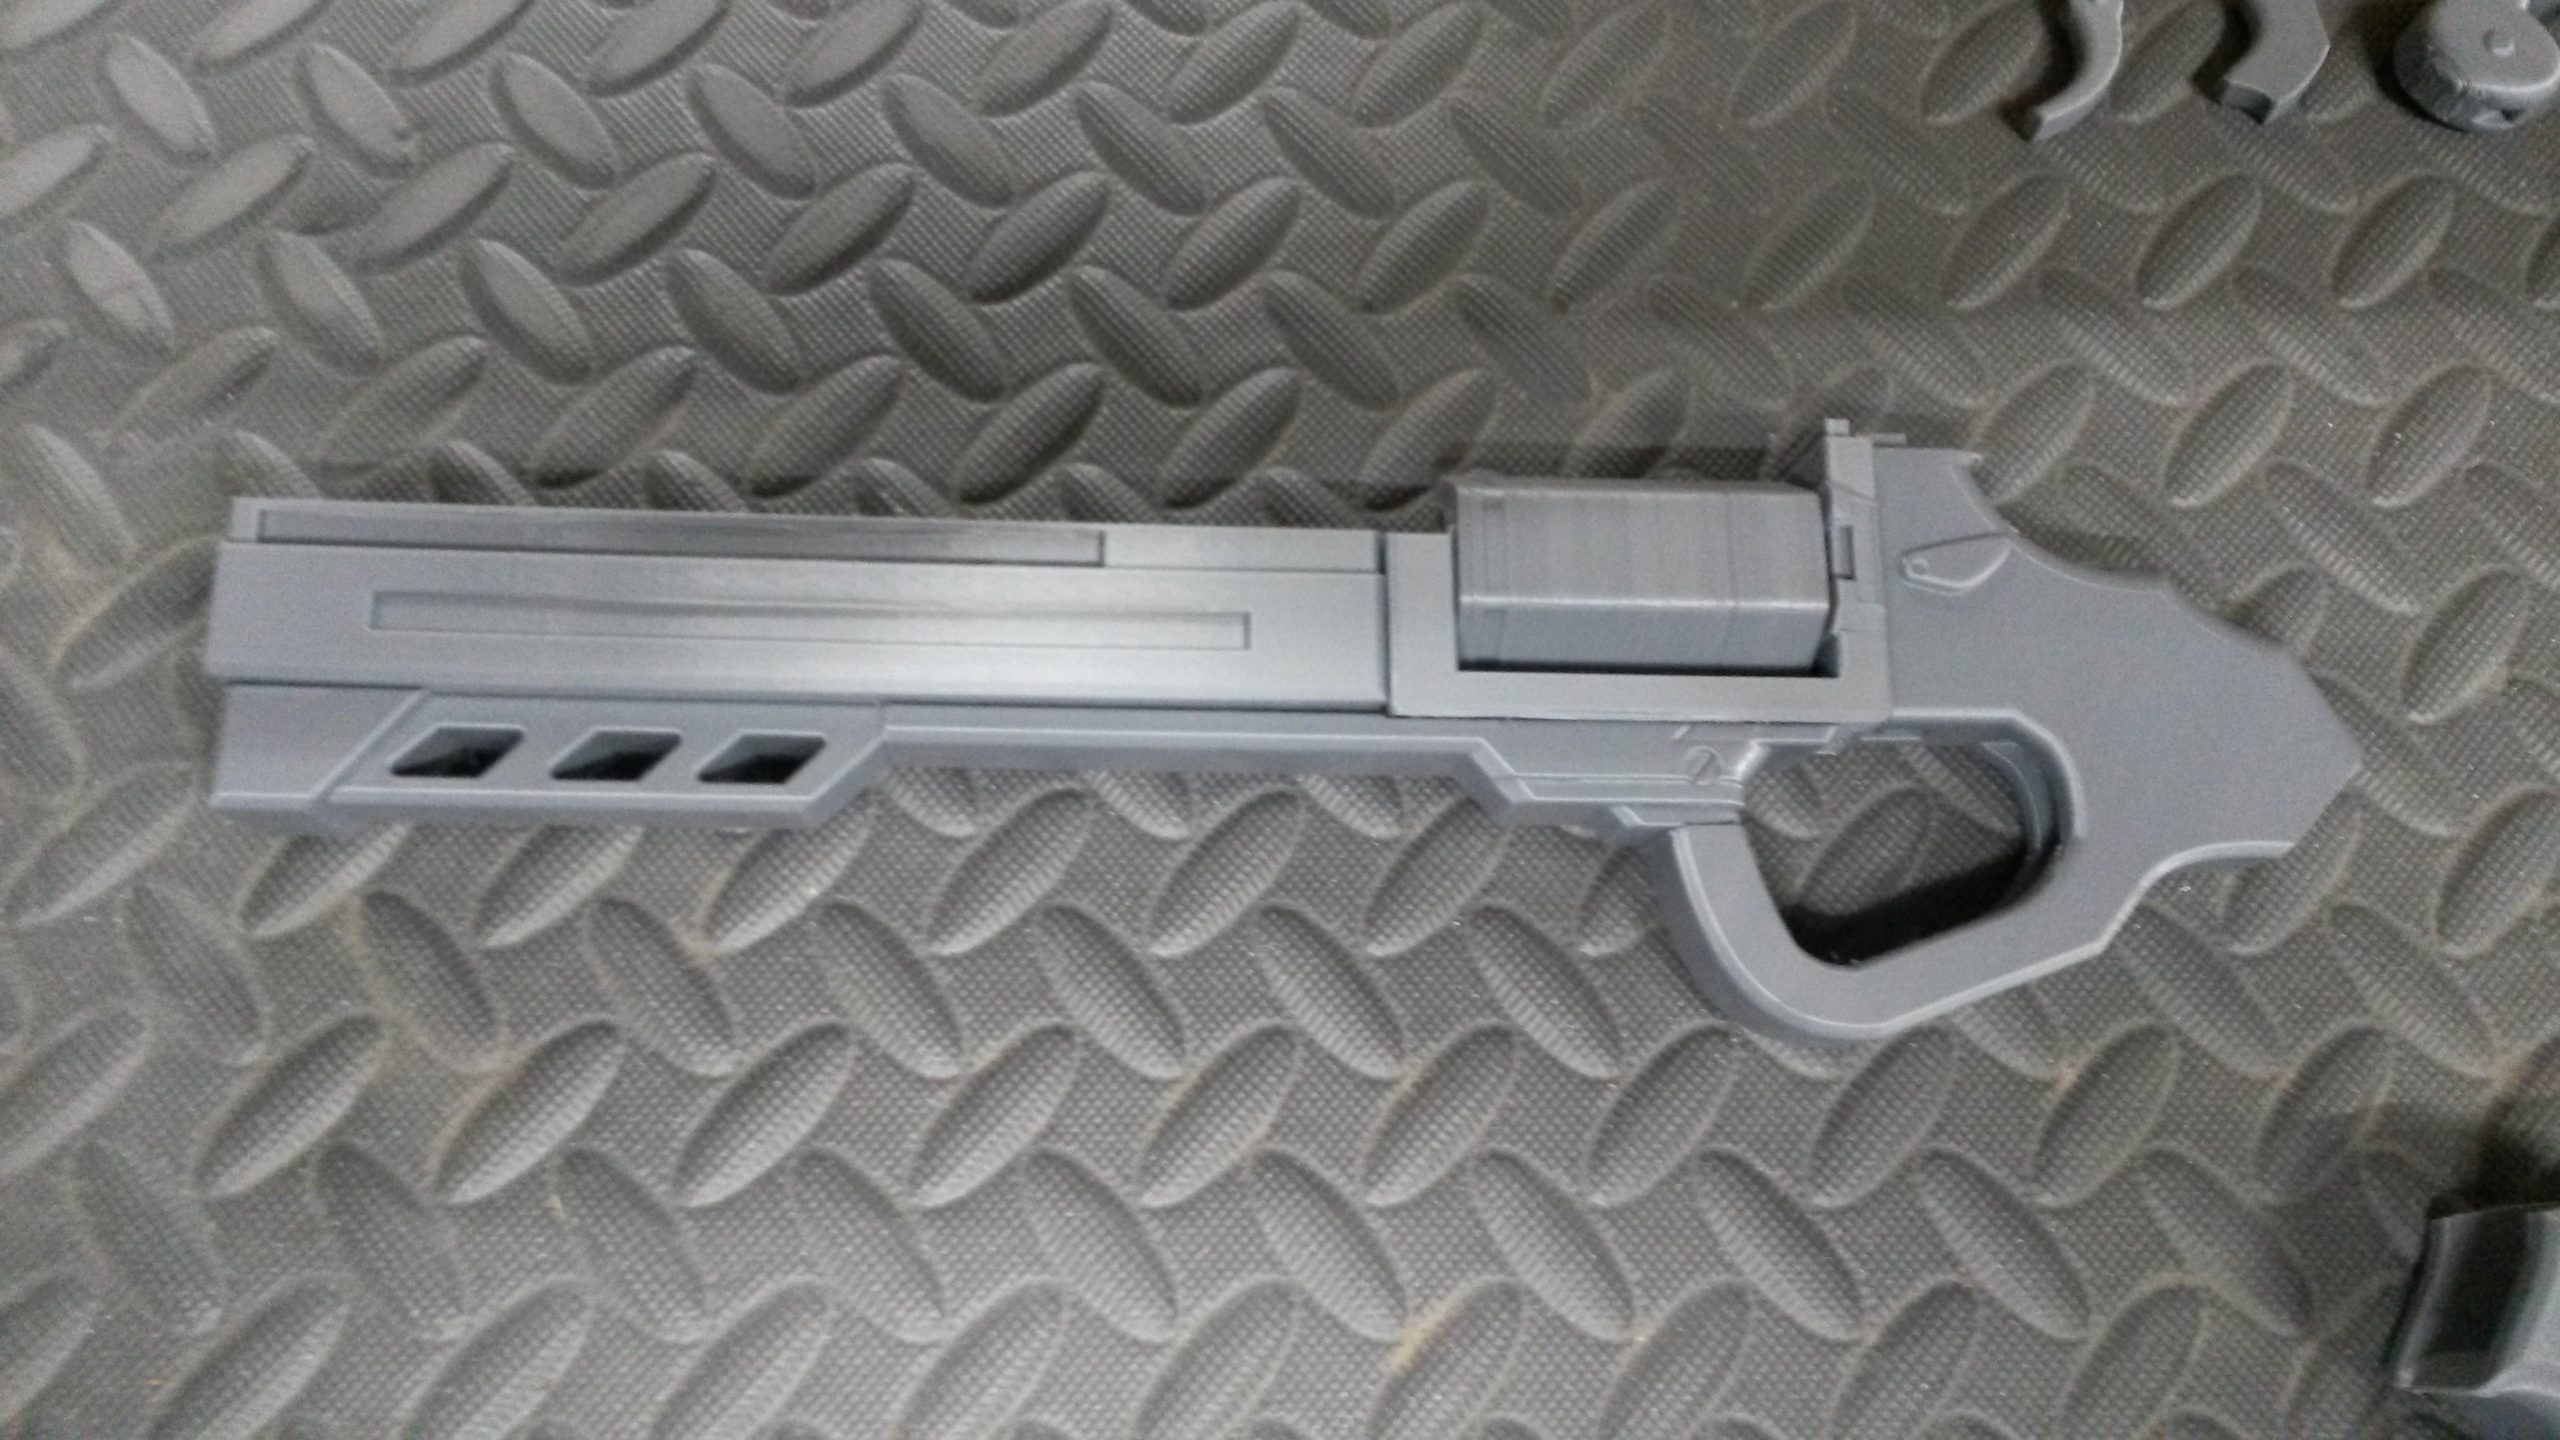
Inspired by the Roosterteeth “RWBY” series, this is Ironwood’s pair of “Due Process” revolvers.
Overall size is approximately 340mm x 170mm x 35mm (13.25″ x 6.7″ x 1.4″). The kit is set up for ease of finishing and assembly, while the finished version comes fully painted and assembled.


Order finished or kit versions of this prop at https://mkprops.storenvy.com/products/34421392-ironwood-due-process-revolver-rwby
And to print your own, STLs can be purchased from https://cults3d.com/en/3d-model/various/rwby-ironwood-due-process-revolver


Kit Includes
- Engraved Barrel
- Front Sight
- Mid-barrel Top
- Midline Body
- Underbody
- Chamber Housing
- Chamber
- Chamber Support Rod (3mm or 1/8″ diameter, 7cm or 2.75″ long)
- Trigger Housing
- Primary, Secondary Triggers
- Hammer
- Grip
- Grip Bottom
- Engraved Grip Inlays (x2)
- Body Light (x2)
- Chamber Light (x6)
- Safety Cap
Kit is sent in base colors that should be acceptable the build. Please specify in order notes if the white, black, or both revolvers are desired, or something different – we can work with custom orders! For assembly, glue such as a superglue or E6000 will be required.

Painting Suggestions
There are several options for how to paint these kits, depending on what paints you prefer, if you have the equipment, and have a location where you are able to use some of them. For the finished versions we sell, we tend to use a combination of spray paints and airbrushed acrylics, but have tested all of these options.
- For spray painting – Rustoleum, Krylon, or similar brands for primer colors for white and black, chrome silver, and clear gloss
- For acrylic or enamel hand painting – Folk Art, Apple Barrel, Model Master, Testors, or similar brands for white, black, silver, and clear top coat
- For airbrush – mixed acrylic paint with water, mixed lacquers with thinner, or CreateX or similar brands for pre-mixed paints
Assembly
Step 1: Dry Fitting
First, be sure that all parts are in the kit, and use this process to see how they fit together. Do not glue anything together at this stage or attempt to install triggers, this is just to make sure everything looks right. The triggers snap into place and are difficult to remove, unlike other parts that are friction fit or will be attached with glue, so be sure to wait until final assembly for those.

Take the chamber holder and fit the underbody to it.

Next, attach the trigger housing to the chamber holder and underbody. Be careful with the pressure inserting the chamber holder into the trigger housing, as twisting it may cause it to break. If it (or any part) breaks, please contact us for a replacement, or use some superglue or E6000 to reconnect the pieces – the chamber holder specifically is surrounded by other parts once fully assembled, and is not needed for strength.

Then, place the chamber in the chamber holder and slide the support rod to hold it in place.

After that, attach the midline body to the underbody and chamber holder, followed by attaching the barrel to the combined unit. The front sight and mid-barrel detail plate go on next.

Finally, the grip, grip inlays, and grip bottom can be put on.

Since nothing is glued together, take everything apart and prepare for finishing and painting at this point.
Step 2: Finishing
For finished revolvers made here, we use a number of finishing steps, so this is a general guideline for possible steps to take, depending on your available tools and materials.
First, a hand detail power sander is used to smooth out any obvious print lines. 120-220 grit paper is used here.
Next, 2-3 primer coats are applied to all parts and allowed to cure completely. A second round of power sanding may be desired at this point, followed by a second round of primer coats, and another round of sanding with 220 grit paper.
Hand sanding and wet-sanding is optional at this point. 240-800 grit paper is generally used, or up to 2000 grit if desired.
Step 3: Painting
Be sure to wash all parts before continuing. A mild soap and water are suggested to remove any remaining dust, then allow the parts to dry thoroughly. Assuming the parts have not had primer applied yet, be sure to use at least one coat of primer of some sort to help the paint bond to the parts.
The kit parts are separated as much as possible to make painting easy. If you are using spray paint, be sure to do it in a well ventilated area or outside.
For the ‘light’ body and chamber segments, 2-3 clear coats are suggested to make the parts shine in photos.
Inlay portions can be antiqued to bring out the engravings, with black, blue, silver, or another desired color. Our technique here has been to paint the parts, clear coat them, then use a thinned acrylic paint to brush into the engravings. Let it dry slightly, then wipe the outer surfaces with a paper towel or cloth. Repeat 2-4 times to darken the color, then finally add another top clear coat to seal the colors.

Step 4: Final Assembly
For this sample, parts were sanded to 240 grit paper, and the following paints were used:
- Rustoleum Ultra Matte Black
- Rustoleum Gloss Clear
- Rustoleum Bright Coat Chrome
- Folk Art Metallic Blue Sapphire
Glue used was Gorilla Super Glue Gel XL.
Once all paint is completely cured, arrange the parts for ease of assembly – similar to the dry fitting instructions, with two new additions.
First, attach the light segments to the chamber and main body, using a bit of glue to hold them in place.

Next, install the inner trigger (flat side faces up, curved side towards where the grip will go) into the trigger housing with a little glue. Then the front trigger, and finally the hammer into the trigger housing. It may be necessary to sand down the ‘nubs’ on the sides of the front trigger or hammer to get them to slide and lock into place. The front trigger and hammer don’t need any glue, unless you prefer to have them completely immovable.

After that, the instructions are largely similar to the dry fitting instructions, but with glue. Use a bit of glue to attach the chamber housing underbody, then a bit of glue to attach the trigger housing to both. Slide the chamber into the chamber housing, then insert the support rod – no glue required, to allow the chamber to spin. Next, attach the body to the combined unit, again with glue at various points.
While the glue for those is curing, attach the front sight and mid-barrel detail plate to the barrel, and then glue that to the combined unit.
Glue the grip inlays to the grip, then the grip bottom. Once that is cured, attach it to the combined unit with a last touch of glue, and the revolver is complete.

Do not glue the safety cap into the barrel – it should fit just by friction, but may need a little tape if it appears loose. This is only there for con requirements and is supposed to be removable for photos.
Storage
Be sure to store the prop in a dark place, such as a closet or drawer when not in use. Do not keep the prop in a car, as hot cars can cause warping or bubbling of the plastic over time. Depending on the paint(s) used, over time sunlight may cause fading or yellowing.